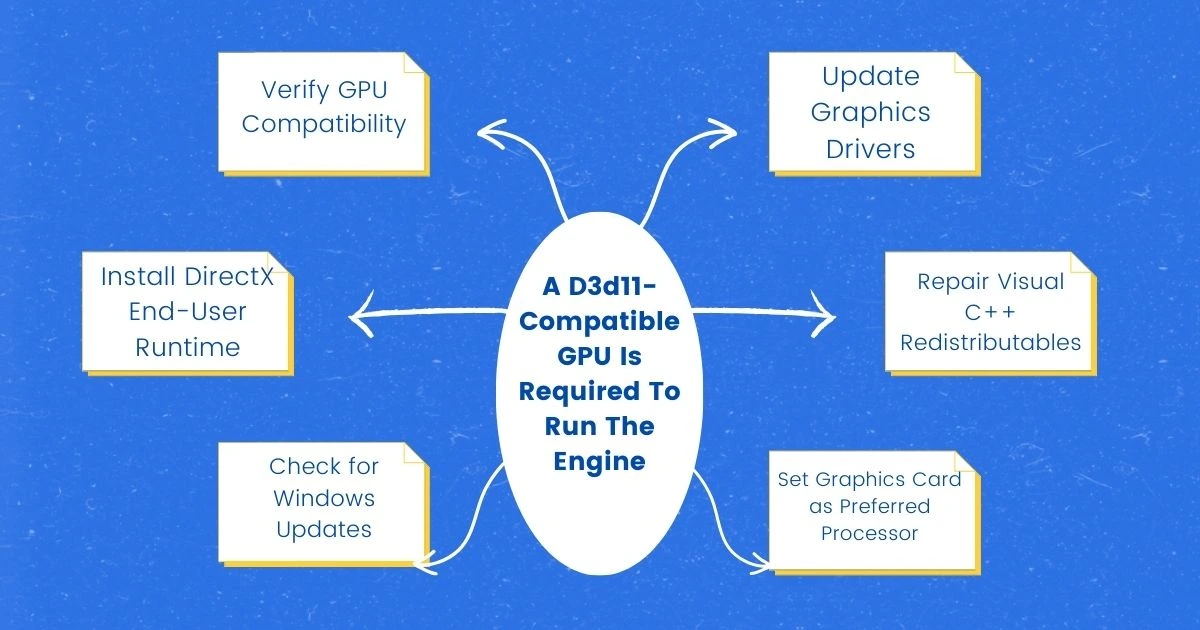


When trying to launch a game or program that needs Direct3D 11 (D3D11), a graphics API, to work, the error notice “A D3D11-compatible GPU is required to run the engine” usually occurs. This issue means that the program is not able to produce graphics correctly because your computer’s graphics processing unit (GPU) is not compatible with D3D11.
Make sure your GPU is indeed incompatible with D3D11 before moving on to the troubleshooting steps. Verify your GPU’s specs to make sure it can run at least D3D11.1 feature level. Consider replacing your outdated and incompatible GPU with a more recent model that satisfies the minimum specifications.
Compatibility problems may arise from outdated or corrupted graphics drivers. Get the most recent GPU drivers from the official website of the manufacturer (NVIDIA, AMD, or Intel) and install them. Make sure you choose the appropriate driver for the operating system and GPU model that you are using.
DirectX is a collection of APIs that many games and apps require, including D3D11. Get the most recent version of the DirectX End-User Runtime from Microsoft’s website and install it. This package makes sure the DirectX components you need are installed on your system.
Steps: –
Libraries for Visual C++ Redistributables are necessary for many applications, including D3D11-based ones. Locate the Visual C++ Redistributables by opening Programs and Features in the Control Panel, then select “Repair” for each installed version. This will try to repair any damaged or absent libraries.
Steps: –
Windows updates often include driver updates and system fixes that can resolve compatibility issues. Check for and install any available Windows updates through the Settings app or Windows Update.
In some cases, the system might be using the integrated graphics instead of the dedicated GPU. Open NVIDIA Control Panel or AMD Radeon Settings, navigate to Power Management, and set “Preferred Processor” to “High-performance NVIDIA processor” or “High-performance AMD processor” respectively.
For NVIDIA GPUs:
For AMD GPUs:
To find out which version of DirectX is installed on your computer, use the DirectX Diagnostic Tool (dxdiag). Make sure you have the most recent version installed; you can get it by downloading it from Microsoft’s website or by using Windows Update.
Steps: –
Compatibility problems may also result from corrupted system files. To find and fix any corrupted system files, use the System File Checker (SFC) tool. To execute “sfc /scannow,” open Command Prompt as an administrator, type it, and hit Enter.
Steps: –
In rare instances, the error might be caused by a bug in the game or application itself. Check for any available updates for the specific game or application that’s triggering the error.
If none of the troubleshooting steps resolve the issue, it might be time to consider upgrading your GPU. A newer GPU with D3D11 compatibility will ensure you can run the game or application smoothly.
When trying to launch a game or program that needs...
Read MoreRGB lighting, aggressive angles, and...
Read More
Leave a Reply