Table of Contents
ToggleIntroduction

The way we make tangible objects has been completely transformed by 3D printing. Toys and prostheses may now be printed, making 3D printing an indispensable tool for designers, engineers, and amateurs alike.
But just like any other technology, 3D printing has its own share of difficulties and traps that can cause frustration and cost you money and time. We’ll go over the top five 3D printing mistakes to avoid in this blog post.
Inadequate bed leveling is one of the most frequent errors made in 3D printing. For even printing and good adhesion, a flatbed is essential. The print may not adhere to the bed or it may be uneven, which will lead to a failure print if the bed is not level. We’ll go over how to level the bed correctly and why it’s crucial.
Another typical error that can result in blobby, sloppy prints is over-extrusion. When too much filament is forced into the nozzle, this happens. This problem can be avoided by adjusting the extruder settings, and we will go over how to do that.
Another error that might produce subpar results is using the incorrect filament. Using the wrong filament for a given print can lead to a failed or subpar print since different filaments have different qualities. The differences and appropriate uses for PLA, ABS, PETG, and other popular filaments will be covered.
Another typical error that can result in sagging or collapsing prints is failing to use supports when they are required. Some prints need support in order to avoid these problems, but beginners might not be aware of this.
We will define supports, discuss when they are required, and go over how to add them to models.
Last but not least, missing calibration can result in subpar prints and possibly harm to the printer. To guarantee optimum performance, the printer must be calibrated, including the extruder, bed, and other settings. We’ll go through why calibration is crucial and how to do it properly.
Avoiding these typical errors will help you become more adept at 3D printing and get better outcomes. This guide will assist you in avoiding frequent errors and elevating your prints, whether you’re a novice or an expert 3D printing fan.
Incorrect Bed Leveling
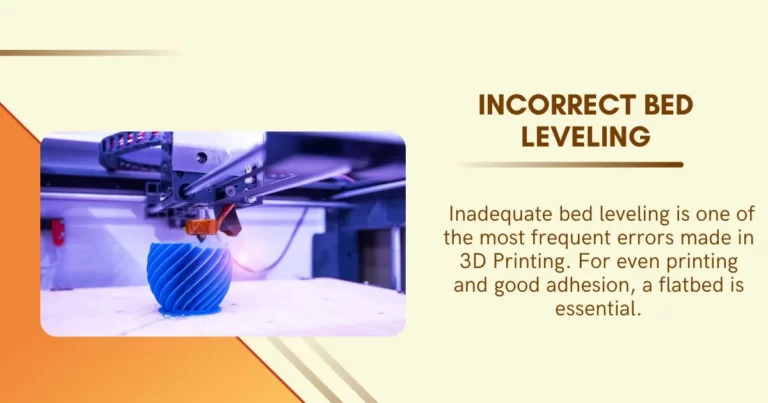
Inadequate bed leveling is one of the most frequent errors made in 3D Printing. For even printing and good adhesion, a flatbed is essential. The print may not adhere to the bed or it may be uneven, which will lead to a failure print if the bed is not level. In this article, we’ll talk about the reasons why beds don’t level out correctly and how to solve it.
Reasons for Improper Bed Leveling
Improper bed leveling has a number of causes. An uneven bed is one frequent cause. The print may not stick to the bed correctly if the bed is not level, which could result in unsuccessful prints. An improper z-height is another factor in inappropriate bed leveling. Poor adhesion could come from the nozzle not being close enough to the bed if the z-height is too high.
The nozzle may be too close to the bed if the z-height is set too low, which could cause the print to adhere too tightly and possibly harm the bed or the print itself.
Solutions for Improper Bed Leveling
False bed leveling can be fixed in a number of ways. Verifying that the bed is level is the first step. To achieve this, measure the distance between the nozzle and the bed at several spots using a piece of paper or a leveling tool. To get the bed as level as possible, adjust the leveling screws or knobs.
Changing the z-height is an additional option. The distance between the nozzle and the bed may be changed to achieve this. This can be helped by the automatic bed leveling option on some printers. In the absence of this function, you can manually change the z-height by moving the bed or the nozzle up or down until the distance between the nozzle and the bed is ideal.
You may need to calibrate the bed if it is still not level. To make sure the bed is exactly level, calibration entails changing the bed and the printer’s software parameters. This can be accomplished by manually tweaking the software and bed settings or by using the printer’s calibration tool.
Tips on leveling a bed properly
It’s crucial to adhere to basic best practices in order to prevent erroneous bed leveling. Make sure the bed is first clean and clutter-free. Debris can make the bed uneven, which results in improper bed leveling.
Second, regularly verify the bed’s level with a leveling tool or a piece of paper. This will enable you to identify any problems before they become ones. Finally, when leveling the bed, be patient and take your time. Rushing the process can result in unsuccessful prints and poor bed leveling.
A typical 3D printing error is incorrect bed leveling, but with the right equipment and methods, it is simple to solve. You can make sure that your prints stick correctly to the bed and are of great quality by using the advice provided in this article.
Never forget to routinely check the bed’s level and modify the z-height as necessary. You can consistently level the bed perfectly with a little perseverance and practice.
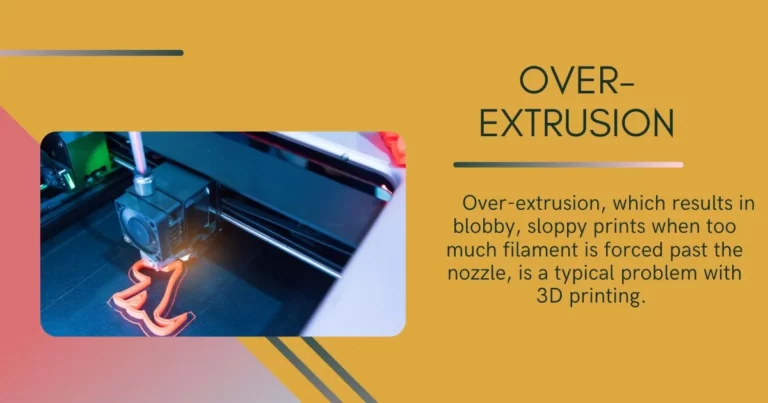
Over-extrusion, which results in blobby, sloppy prints when too much filament is forced past the nozzle, is a typical problem with 3D printing. Because it can result in wasted filament and unsuccessful prints, this can be frustrating for those who enjoy 3D printing. In this essay, we’ll talk about over-extrusion’s causes and solutions.
Reasons for Over-Extrusion
Over-extrusion has a number of causes. Incorrect extruder settings are one frequent problem. Over-extrusion will occur if the extruder is adjusted too high and too much filament is forced through the nozzle. Incorrect filament diameter is another factor in over-extrusion. The printer may pump too much filament through the nozzle if the filament diameter is greater than what is configured in the software.
Solutions for Over-Extrusion
There are numerous ways to deal with over-extrusion. Setting up the extruder is the first step. This can be accomplished by changing the flow rate or the steps per millimeter (SPM) of the extruder. Better prints can be obtained by lowering the flow rate or changing the SPM, which can help to reduce the amount of filament extruded.
You can also try checking the filament diameter according to your 3D Printing needs. Verify that the printer’s software has the filament diameter properly set. Over-extrusion may occur if the diameter is too large because the printer may force too much filament through the nozzle.
A printer may not be able to push enough filament through the nozzle if the diameter is too small, leading to under-extrusion.
Additionally, it’s crucial to check that the nozzle is dust- and debris-free. Over-extrusion can occur when the printer pushes too much filament through the nozzle due to debris in the nozzle. Regular nozzle cleaning can assist to avoid this problem.
Tips on Over-Extrusion
It’s crucial to adhere to some best practices in order to prevent over-extrusion. Make sure the extruder parameters are set properly first.
This can be achieved by measuring the flow rate and, if necessary, modifying the SPM. Second, regularly verify that the filament diameter is configured correctly in the printer’s software. Finally, regularly clean the nozzle to avoid debris from leading to over-extrusion.
Although over-extrusion is a frequent problem in 3D printing, it is easily fixable with the appropriate tools and methods. You may avoid over-extrusion and produce prints of excellent quality by changing the extruder settings, monitoring the filament diameter, and maintaining a clean nozzle after your 3D Printing. When adjusting the extruder settings, keep in mind that being impatient or rushing the process can result in further problems. You can prevent over-extrusion and get flawless prints every time with a little effort.
Using the wrong Filament
In 3D printing, choosing the incorrect filament is a typical error that can provide subpar results. Using the wrong filament for a printing process might lead to a failed or subpar print since various filaments have different qualities. We will go over the reasons for using the incorrect filament in this post, along with solutions.
Reasons for Choose the Wrong Filament
Using the incorrect filament can be caused by a number of factors. Lack of understanding of the characteristics of filaments is one frequent reason. Beginners might not be aware of the differences between different filaments’ characteristics and could decide on a filament based only on its color or cost.
Lack of knowledge of the 3D printing’s needs is another factor that contributes to utilizing the incorrect filament. Different prints could call for different qualities, such as sturdiness, adaptability, or heat resistance.
Solutions for Using the Wrong Filament
Learning about the characteristics of different filaments is the first step in avoiding employing the incorrect one. Spend some time learning about the various filament kinds, their characteristics, and the suggested applications for them in 3D Printing. By doing this, you may select the proper filament for your print and prevent using the incorrect one.
Testing the filament first before using it for a huge print is another option. To accomplish this, print a tiny test piece using the filament to evaluate its qualities and characteristics. Before beginning your huge print, you can change filaments if the current one does not fit your needs.
By changing the printer’s settings, you might be able to save a print that you previously began using the incorrect filament. For instance, if the print is excessively brittle, you might be able to enhance the print quality by adjusting the temperature or print speed.
Tips on Correct Filament
It’s crucial to adhere to a few recommended practices in order to prevent using the incorrect filament. Make sure you first comprehend the demands of your print. When selecting a filament, take into account elements like strength, flexibility, and heat resistance.
Do your study and pick a filament that is suggested for your print as the second step. Finally, test the filament to make sure it satisfies your needs before using it for a large print.
In 3D printing, using the incorrect filament is a typical error that is readily avoidable with the appropriate equipment and methods. You may consistently produce high-quality prints by being knowledgeable about the qualities of the filament you use, testing it before usage, and modifying the printer’s settings as appropriate.
Consider your options carefully when selecting a filament, and test it out before beginning a huge print. You can select the appropriate filament for your prints and prevent using the incorrect one with a little effort.
Not using supports when necessary
A frequent 3D printing error that can result in prints that droop or collapse is failing to use supports when they are required. Some prints need support in order to avoid these problems, but beginners might not be aware of this. In this post, we’ll talk about why people don’t utilize support when they should and how to remedy it.
Reasons for not using supports when they are needed
When supports aren’t used as needed, there are a number of reasons why. Lack of awareness of the occasions when assistance is required is one prevalent factor. Beginners might be unaware that some prints need support to keep them from drooping or collapsing.
Lack of knowledge on how to include supports into models is another reason why they are rarely used. For newcomers, adding support might be scary, and they might not know how to add them properly.
Solutions for Not Using Supports When Required
Learning when assistance is required is the first step in avoiding this problem. In general, prints with overhangs or complicated geometries require support. Supports can help keep these designs from drooping or collapsing.
The next step is to include the supports in the model after you have decided that they are required. The majority of 3D modeling programs provide a support generation tool that can create support for your model automatically.
These created supports might not always be ideal, thus some adjusting could be necessary. It’s critical to give the supports the attention they need to provide the required support without obstructing the print itself.
Tips for Making Models Supportable
It’s essential to adhere to a few best practices to guarantee that supports are introduced appropriately. Use your 3D printing software’s support-generating tool first. By doing this, you may save time and make sure the supports are installed in the right places.
Don’t, however, rely exclusively on the supports that were created. Make sure they are giving the required support without obstructing the print by taking the time to adjust them as needed.
Second, think about the kind of backing material you are employing. Different support materials may need different settings due to their varied qualities. To get the best results, for instance, some support materials can need a higher print temperature or a slower print speed.
Before printing the complete model, test the supports last. You may check that the supports provide the required support without interfering with the print by printing a tiny test piece.
A typical error in 3D printing is failing to use supports when they are required, but with the correct tools and methods, it is simple to prevent. You may consistently produce high-quality prints by being knowledgeable about when supports are required, using the support generation tool in your 3D modeling program, and modifying the supports as appropriate.
Keep in mind to add supports slowly and test them before printing the entire model. You can add support to your models like a pro with a little experience.
Skipping Calibration

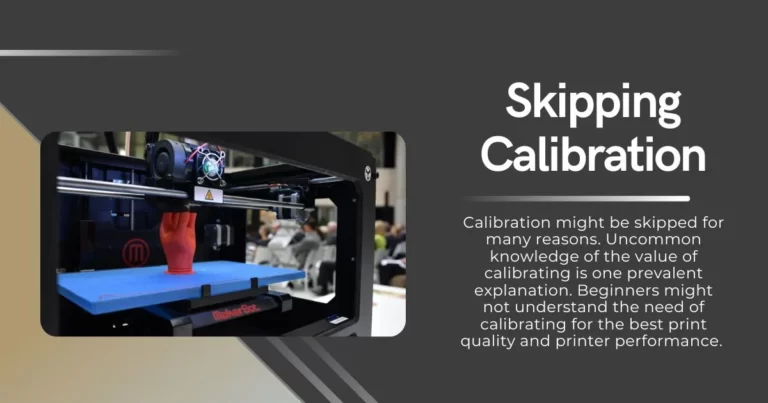
A typical 3D printing error that can result in subpar print quality and even printer damage is skipping calibration. To guarantee optimum performance, the printer must be calibrated, including the extruder, bed, and other parameters. In this post, we’ll talk about the reasons why calibration sometimes skips and how to solve it.
Reasons to Skip Calibration
Calibration might be skipped for many reasons. Uncommon knowledge of the value of calibrating is one prevalent explanation. Beginners might not understand the need of calibrating for the best print quality and printer performance. Lack of understanding of printer calibration procedures is another reason for missing calibration. For newcomers, calibration can be frightening, and they might not know where to begin.
Solutions for Avoiding Calibration
Learning about the significance of calibrating is the first step in avoiding skipping it. The printer must be calibrated to guarantee optimal performance; if calibration is skipped, print quality may suffer, and the printer may even sustain damage.
The next step is to learn how to calibrate the printer after you have an understanding of the significance of calibration. The user handbook or online calibration guides are typically included with 3D printers.
You will be led by these instructions while you calibrate the extruder, bed, and other parameters. It’s crucial to carefully follow these guidelines to make sure the printer is calibrated properly.
Tips on Proper Calibration
It’s crucial to adhere to a few basic practices to guarantee that the printer is calibrated appropriately. First, regularly calibrate the printer. To guarantee optimum performance, calibration should be carried out before each print or as frequently as required.
Before calibrating, second, make sure the printer is dust- and debris-free. Debris might disrupt the calibration process and cause results to be erroneous.
Finally, when calibrating the printer, be patient and take your time. Poor print quality and improper calibration might be the results of rushing the procedure.
In 3D printing, skipping calibration is a typical error that is readily avoidable with the correct equipment and methods.
You may attain the highest print quality and printer performance by being knowledgeable about the value of calibration, knowing how to calibrate the printer, and adhering to recommended procedures for correct calibration.
Keep in mind to calibrate the printer on a regular basis, to keep it clear of debris, and to take your time. You can calibrate your printer like a pro and get flawless prints every time with a little effort.
Conclusion
In conclusion, 3D printing is an innovative technology that is fast advancing and has the potential to completely change how we design and produce goods.
Inappropriate bed leveling, excessive extrusion, using inappropriate filament, failing to use supports when required, and missing calibration are just a few of the frequent errors that may happen while using 3D printers.
Fortunately, by using the right methods and resources, these errors can be quickly avoided. Examples include checking the filament before using it for a large print and adding supports to objects to prevent drooping or collapsing.
Another example is changing the leveling screws or knobs to make the bed as level as possible. Achieving high-quality printouts also requires routine printer calibration and taking the time to tweak the settings for optimum performance.
You may prevent these problems and get high-quality prints every time by being knowledgeable about these typical errors and putting the remedies presented in this article into practice.
Keep in mind to take your time, be patient, and adhere to recommended procedures for 3D printing. You can develop into a knowledgeable 3D printing aficionado and advance your work with a little effort and expertise.
There are several more elements to take into account while 3D printing in addition to the typical errors covered in this article. The optimum infill percentage, print speed, and temperature settings, as well as the choice of the best slicing software, may all affect the quality of the printed object.
It’s essential to keep in mind that 3D printing is a procedure that demands endurance and meticulousness. Even though it may be upsetting when prints don’t come out as expected, it’s crucial to learn from errors and change the settings as necessary.
There are also constantly new methods and tools to investigate as 3D printing technology develops. There is always something new to test, whether it is cutting-edge slicing software or brand-new filaments with distinctive qualities.
In general, 3D printing is an exciting technology that has given builders and innovators a myriad of new options. Anyone can produce high-quality prints and unleash their creativity by knowing the common mistakes to avoid and using the right techniques. So continue your research, and education, and push the 3D printing technology’s capabilities.
Buy a 3D Printer in your budget with all the excellent features in our list of Best 3D Printers under 1000$







Leave a Reply