Welcome to The Super Fox

Cart

Your Cart is Empty

Back To Shop

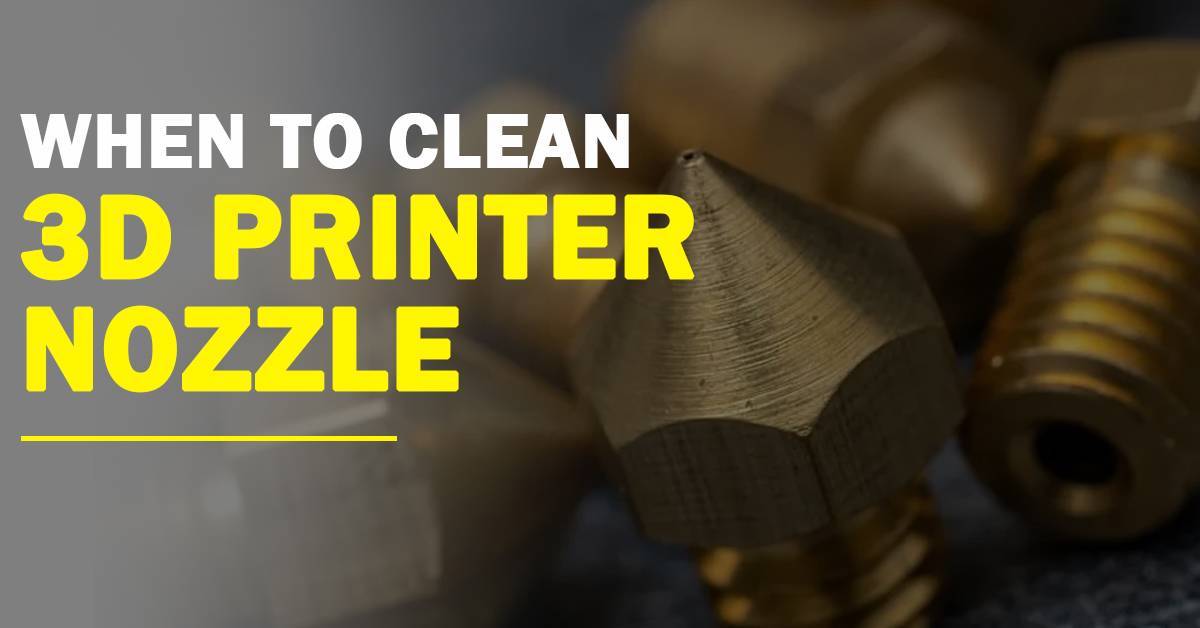
When To Clean 3D Printers Nozzle?

When To Clean 3D Printers Nozzle

          In the exciting world of 3D printing, it is important to maintain the quality and readability of your printers is essential. Cleaning the 3D printer nozzle is one of the crucial aspects of 3D printer maintenance. Optimal performance and print quality increase by cleaning the nozzle regularly.

          In this blog post, we are going to explore the factors that influence cleaning frequency and provide practical tips on when and how to clean your nozzle effectively.

          Also, before starting, it is important to know what is nozzle.

          So, the nozzle is the part of the 3D printer that deposits the filament and molten from it which helps to design any figure. There are various types of nozzles are present. Some nozzles may be small some may be big some of them can be with more width and some of them can be more heightened and so on. 

          Get Your Own 3D Printer Today CLICK HERE

Why Cleaning The Nozzle Matters

          The nozzle is a critical component in the 3D Printer which is responsible for extruding the filament and depositing precise layers of material. During the printing process, residue from the melted filament, dust particles, and impurities can accumulate in the nozzle, leading to clogs or inconsistent extrusion. There can be many problems if we neglect the problem related to nozzles. We need to clean it properly and daily after using the 3D printer. We need to take care of all the important factors that influence the 3d printer’s cleaning frequency. 

The following are the factors that influence the cleaning frequency of the 3D printer:

  1. Filament Type: Consideration of the specific characteristics of the filament you see and adjust your cleaning frequency accordingly. As different filament materials have varying properties and behaviors.
  2. Print volume: The volume of the prints produced mainly depends on the frequency of nozzle cleaning. The higher the print volumes more is the cleaning frequency.
  3. Printing Parameters: The nozzle’s cleanliness is affected by the settings used during the printing process. Higher temperatures or faster print speeds may cause filaments to melt and accumulate more quickly.

When To Clean The Nozzle?

  1. Filament Change: Clean the nozzle whenever you switch to a different filament color or material. Ensure a clean start for the new material by cleaning the nozzle.
  2. Clogs Or Filaments Issues: To restore proper extrusion and resolve the problem, cleaning the nozzle should be part of your troubleshooting process.
  3. Decline In Print Quality: The decline in print quality indicates a dirty nozzle. Cleaning nozzles help you to restore the desired print quality.
  4. Regular Maintenance Schedule: Cleaning nozzles periodically incorporated into your maintenance routine is beneficial. It ensures consistent performance over time and prevents potential clogs.

How To Clean The Nozzle?

  1. Heat the Nozzle: Start by heating the nozzle to the appropriate temperature for the filament you use. This softens the residual filament, making it easier to remove.
  2. Remove Filament: Once the nozzle reaches the desired temperature, carefully remove the filament from the printer. Follow your printer’s specific instructions for filament removal.

Following Are The Other Methods Of Cleaning The Nozzle:

  1. Mechanical Cleaning: By using the nozzle cleaning brush, scrub the inside and outside of the nozzle.
  2. Cold Pull: Insert a cleaning filament or a small piece of filament into the nozzle while it’s still hot. Allow it to cool down and then carefully pull it out, which helps remove any residue or clogs along with it.
  3. Chemical Cleaning: Some nozzle cleaning solutions or filament-specific cleaning filaments are available on the market. Follow the manufacturer’s instructions to effectively use these solutions for cleaning your nozzle.
  4. Reassemble And Test: After cleaning the nozzle, reassemble all the components. After
    reassembling test the printer.

Related Post

Leave a Reply

Your email address will not be published. Required fields are marked *

Cart

Your Cart is Empty

Back To Shop